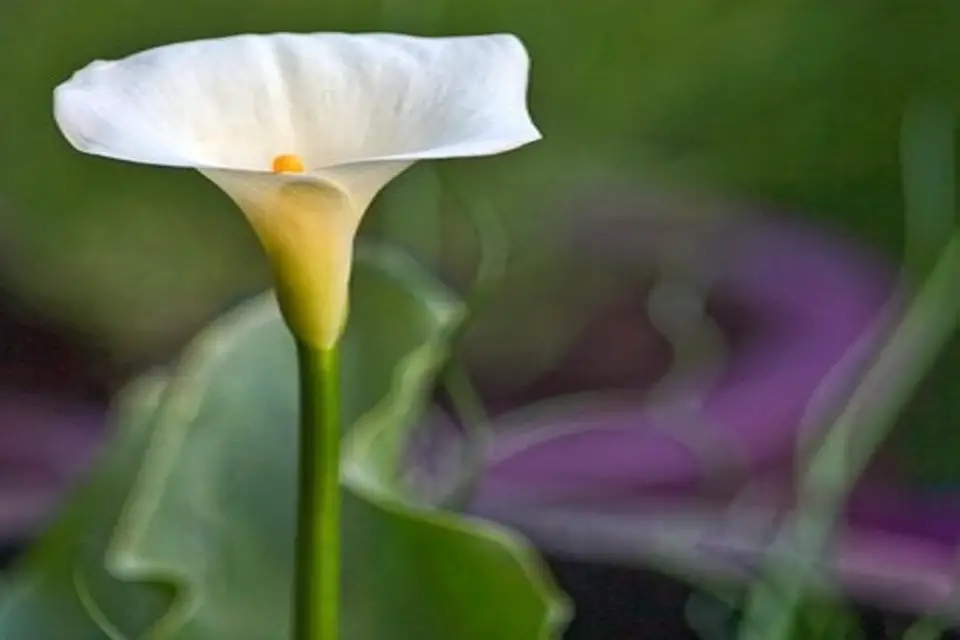
The magnificent calla lily from South Africa has gained popularity in most homes. Many home gardeners have grown fond of this beautiful flower that comes in a variety of shades. They come in striking colors of white, pink, red, yellow, orange, or even purple to choose from according to your preference.
Whether grown in pots or outdoors on the ground, the spectacular plant with funnel-shaped flowers is straightforward to grow with low maintenance.
With all the beauty the calla emits, they are still treated as weeds back in their native. Sounds like the case of ‘one man’s poison is another’s man’s treasure.’
After the bloom season and you are no longer excited about the plant without the flowers, what do you do? Stay put for more.
Are Calla Lilies Annual Or Perennial?
For a plant with plenty of benefits for the owner, it is sad to lose it after a short time. Calla lilies are not just for the beauty of your home but useful also for florists as cut blooms for weddings and DIY projects. Even the pollinators such as bees and butterflies enjoy the calla as it is their source of food.
Hold on; don’t toss the pot away yet! Luckily, conforming to the U.S. Department of Agriculture, the calla lilies are perennial of hardiness zones 7-11. This means you can actually save your potted or grounded plant until next season and still get to enjoy more blooms. Read on.
The greatest threat to calla lilies is frost. They cannot survive through the winter season. This is why many people treat them as annuals, not knowing how you can care for them to retain and have them after winter.
How Do Calla Lilies Spread?
Calla lilies are grown from rhizomes, and just like most rhizomes, they can be dug up and planted in another location as you deem fit. They spread through their roots producing even more bulbs hence spreading rapidly.
If not careful, they can block the sun from reaching other neighboring plants, thus killing them as much as you want them in your garden. Wildfire growth is mostly experienced in areas that don’t experience winter. The right way of controlling the wildfire growth is by potting the calla lilies. This way, they will be limited to spread.
If birds can still access the seeds, they can end up dropping on them on the ground. This way, the calla can spread by bird-borne seeds. Conversely, you can also spread the calla lilies by cuttings or dividing the rhizomes and planting them all spread out in the garden.
This works only if you don’t want them crowded in one spot, which ends up in diminished plant vigor. However, do not divide them too often, perhaps every 3-5 years, and only when the clumps start to weaken. The division also helps to curb the spread of the calla lilies to uninvited areas of your garden.
It is best to remove withered flowers to decrease the amount of seed accessible to birds and eliminate rhizomes and plant cuttings responsibly. By doing this, you will avoid unnecessary spread and growth of the calla.
If you want healthy calla lilies, point to note, look for bulbs that are large and plump. The bigger and plumper the bulb is, the larger the plant’s size, hence more giant blossoms. Why else would you plant flowers that are not big and visible in your garden? https://www.youtube.com/watch?v=n-ajLKpbwxs
Can Calla Lilies Be Potted?
Calla lilies (Zantedeschia aethiopica) can either be potted or grown on the ground. Those who prefer potting them have considered various factors, such as how climatic changes affect their calla on the ground.
Generally, potting calla lilies is recommended to many home gardeners. For starters, potted plants look more appealing than those planted directly on the ground. The different designs and shades of the pots combined with the calla’s natural beauty, the garden emit a more magnificent look.
Also, potted Callas enhance the aspect of neatness and organization in the garden. You have the freedom to arrange and rearranging your garden as you please.
Potted calla lilies can be easily removed for the treatment of pests then re-potted. It is much easier bringing in potted calla lilies during cold seasons to avoid frost outside as they are well portable. If you want to plant calla lilies during the winter, you should start the potting process. You can later transplant the calla outside in the ground or still retain it in the banks outside after the frost has ended, and the environment is warm.
But, what type of pot is suitable for growing the calla lilies?
If you have decided to pot your calla lily, pay close attention to the container. The size of the pot should be proportional to the size of the calla lily. Commonly, standard-sized or extra tall pots would be ideal.
Pots for calla lilies should be approximately 10″-12″ (25-30 cm.) in diameter and well-draining. Even though calla lilies need regularly moist soil, poor drainage can cause decays and fungal diseases. The planting vessel should also maintain moisture but not stay too damp.
In containers, place the calla in a location where they can receive an average of six hours of sunlight daily. The perfect temperatures for container-grown calla lilies at daytime should be between 60-75 F. (15-23 C.) and 55 F. (12 C.) at night-time. If potted calla lilies are houseplants through the winter, maintain these ideal temperatures. https://www.youtube.com/watch?v=dxuTO2emWOg
How Long Do Calla Lilies Last?
As perennials, calla lilies last throughout the year, but as annuals, most gardeners dispose of them right after blooming. How long they last depend on the care, you give them after blooming and during the winter season.
Generally, potted Calla bloom for 3-9 weeks, reliant on their diversity and growing conditions.
How Do You Preserve Them, You Ask?
Because they are an asset worth having for a long time, you need to have extra knowledge of them during winter. These are zones with the hardiness of 7 and below. You may leave the calla rhizomes in the ground with additional protection or play safe by digging them up for storage indoors in these areas.
Once the frost kicks in, the foliage will die hence the perfect time to dig up the rhizomes. After digging the bulbs out, gently brush off excess soil. Do not wash the bulbs as this may cause rot later on. Cure the rhizomes by leaving them to dry in a warm place for up to 7 days. Curing enables the rhizome’s outer skin to toughen up through winter and readiness for the next planting season.
Next, store the dried rhizomes in a cool, dry place that maintains a temperature of 50 F. (10 C.). Make sure to wrap the bulbs in a newspaper or put in a paper bag as you store.
Once the frost and winter season is over, make sure the ground is warm again before replanting the soil’s rhizomes.
The calla lilies’ gift to gardeners is their perennial nature. That way, you are assured of plenty of blooming seasons to enjoy without worry.
Parting Shot
Perfect for bridal bouquets, source of food for pollinators, add natural beauty to your home, the calla lilies’ advantages are worth planting. However, the cons of this magnificent plant are as essential to point out and not assumed.
Calla lilies are unsafe and should not be accessible to children or pets. Even though the entire flower is dangerous, the roots are the most poisonous part of the plant. The signs and indications of calla lily poisoning are; diarrhea, vomiting, and nausea. Either you just put in the mouth or swallow it; the plant’s oxalic acid creates swelling and burning effect of the mouth, tongues, and throat. What is more, if the acid gets in your eyes, it can give rise to pain and swelling.
Even with less care and maintenance, calla lilies need to be handled with utmost caution.
More articles on calla lilies
Why is My Calla Lily Drooping? and how to Stop the Leaves and flowers from wilting
Calla Lily Care after Blooming + How to make Calla Lilies Bloom

XXXF...
$19.98 (as of March 21, 2024 20:19 GMT +00:00 - More infoProduct prices and availability are accurate as of the date/time indicated and are subject to change. Any price and availability information displayed on [relevant Amazon Site(s), as applicable] at the time of purchase will apply to the purchase of this product.)
HNXT...
$6.99 (as of March 21, 2024 20:19 GMT +00:00 - More infoProduct prices and availability are accurate as of the date/time indicated and are subject to change. Any price and availability information displayed on [relevant Amazon Site(s), as applicable] at the time of purchase will apply to the purchase of this product.)
Coll...
$54.99 (as of March 21, 2024 20:19 GMT +00:00 - More infoProduct prices and availability are accurate as of the date/time indicated and are subject to change. Any price and availability information displayed on [relevant Amazon Site(s), as applicable] at the time of purchase will apply to the purchase of this product.)
Burp...
$19.99 (as of March 21, 2024 20:19 GMT +00:00 - More infoProduct prices and availability are accurate as of the date/time indicated and are subject to change. Any price and availability information displayed on [relevant Amazon Site(s), as applicable] at the time of purchase will apply to the purchase of this product.)