A wheelbarrow can come in handy when you have a heap of compost or bulky items to move. It saves your time by letting you do fewer rounds while also protecting your hands and back from the strain.
However, the tool can be quite bothersome when not in use. Due to its large tub and big, high wheel(s), it can occupy a great deal of your valuable space. It gets much worse for those who don’t have the luxury of space. You may leave it outside to rust, wear off or crack. When you need it again, the wheelbarrow will be faulty or entirely dysfunctional.
Hanging your wheelbarrow on the wall or ceiling saves your space and extends its lifespan as well. It’s a simple process that takes two or three hours. In this article, we are going to learn how to hang a wheelbarrow.
How To Hang A Wheelbarrow
Required Tools
- Wall brackets
Depending on the size and weight of your wheelbarrow, purchase brackets that won’t bend or break. They can either be sprung or hand-operated. Alternatively, you can use plumbing hooks, which are a cheaper choice.
- Stud finder(optional)
- Drill
- Screwdriver
Installing the lower brackets
STEP 1: Using the stud finder, or by knocking on the wall using your knuckles, locate a stud. A stud is a vertical post in the wall of a building to which laths are nailed. It is advisable to fix the brackets to ensure that the wheelbarrow doesn’t fall off.
Mark with a pencil the position of the stud.
You don’t have to worry about finding a stud if your store or garage is composed of bricks or cinder blocks. Affix the brackets anywhere ideal on the wall.
STEP 2: Find the ideal position for the brackets and mark it with a pencil. Make sure it aligns with the stud. The pencil mark indicating the stud will guide you.
Pick a location that is not so high or so low. If you position it so high, you’ll be finding trouble lifting the wheelbarrow. Again, if you set it low, you might find yourself bumping into the wheelbarrow legs accidentally.
STEP 3: Using the drill, bore two pilot holes on the chosen location. Ensure that the holes align with those in the hanging bracket.
STEP 4: Position the bracket on the wall and affix it using the provided screws. Screw tight enough to make sure that the bracket will stand the weight of the wheelbarrow.
Installing the upper bracket
STEP 1: Place the front lip of the tub on the lower bracket. If you positioned the bracket conveniently low, you’d find it easy. However, you’ll need to lift the front lip if the bracket is a bit high.
With the front lip resting on the lower bracket, lift the wheelbarrow by the handles until the tub’s opening lays parallel against the wall.
STEP 2: While supporting the wheelbarrow by its handles, mark with a pencil, the point where the back lip meets the wall. This will help you install the upper bracket with the wheelbarrow out of the way.
Measure 1 inch above the pencil mark and put another mark. That is where you will fix the upper bracket. The 1-inch distance will give ample space and allow the wheelbarrow to slide freely.
STEP 3: Place the bracket right on the mark and, using the drill, bore a pilot hole. The top bracket should be aligned with the lower bracket and should face downwards.
Using the provided screw and a screwdriver, fix the bracket on the wall. Again, screw tightly to ensure the wheelbarrow is secured.
Hanging up the wheelbarrow
With the brackets properly installed and the lower bracket close to the floor, setting up the wheelbarrow on the wall is a straightforward process.
- Push the wheelbarrow forward and align the front lip with the lower bracket.
- Slowly lift it by the handles until the back lip is just below the upper bracket.
- Close the clip to secure the wheelbarrow.
Getting the wheelbarrow off the wall
- Unlatch the clip on the top bracket to release the wheelbarrow.
- Ensure you are supporting it by the handles to keep it from falling off and scraping the floor.
- Lower it using the handles and let the legs slowly land on the ground.
Your wheelbarrow is ready for use.
You can also hang your wheelbarrow from the ceiling. This method is best suited for those with very minimal space. It involves making wooden cutouts that support the wheelbarrow by the lips. The process usually consumes time, and you need another person to help you lift the wheelbarrow high. The supporting cutouts should be sturdy enough to ensure that the wheelbarrow doesn’t fall off.
Other wheelbarrow storage ideas include:
Storage rail and hook system- They differ in terms of the weight they can support. You can get the perfect one by considering the weight and size of your wheelbarrow. Such a system is versatile as you can store other tools alongside your wheelbarrow.
Fenceline storage- If you find it hard to hang your wheelbarrow on the wall, you can use wood to make an ‘H’ stand to get the wheelbarrow off the ground. This should be next to the fence or the wall of your garage. The wheelbarrow will rest on the horizontal bar by the front lip while the handles will lean against the wall. The horizontal bar should be just above the ground.
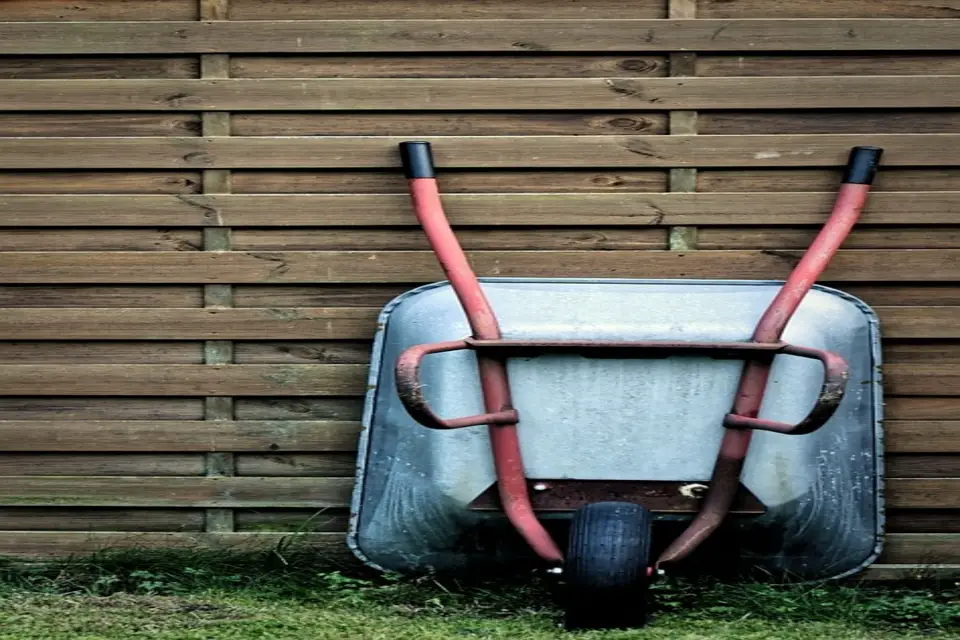
Setting it against the wall- This is not the most secure way to store your wheelbarrow or to save on your space, but it works. Just push your wheelbarrow next to a wall and tip it alongside. With the tub’s opening facing the wall, no water or moisture will collect, keeping it from rusting or cracking.
Final thoughts
You don’t have to complain about not having space to store your wheelbarrow. You can clear up a lot of space by simply hanging your wheelbarrow. This technique will make it last longer, and you can always unhang it for use within no time. We have explained how to hang a wheelbarrow in the best way we can. So over to you to preserve your tool.

Fisk...
$42.00 (as of April 18, 2024 20:45 GMT +00:00 - More infoProduct prices and availability are accurate as of the date/time indicated and are subject to change. Any price and availability information displayed on [relevant Amazon Site(s), as applicable] at the time of purchase will apply to the purchase of this product.)
Fisk...
$48.48 (as of April 18, 2024 20:45 GMT +00:00 - More infoProduct prices and availability are accurate as of the date/time indicated and are subject to change. Any price and availability information displayed on [relevant Amazon Site(s), as applicable] at the time of purchase will apply to the purchase of this product.)
Natr...
$8.97 (as of April 18, 2024 20:45 GMT +00:00 - More infoProduct prices and availability are accurate as of the date/time indicated and are subject to change. Any price and availability information displayed on [relevant Amazon Site(s), as applicable] at the time of purchase will apply to the purchase of this product.)
Larg...
$9.38 (as of April 18, 2024 20:45 GMT +00:00 - More infoProduct prices and availability are accurate as of the date/time indicated and are subject to change. Any price and availability information displayed on [relevant Amazon Site(s), as applicable] at the time of purchase will apply to the purchase of this product.)